Editing Videos in CycliqPlus MobileUpdated 25 minutes ago
Editing your videos
CycliqPlus includes a built-in video editor. You can trim a clip, add your Strava ride data and map, and export the result to your phone.
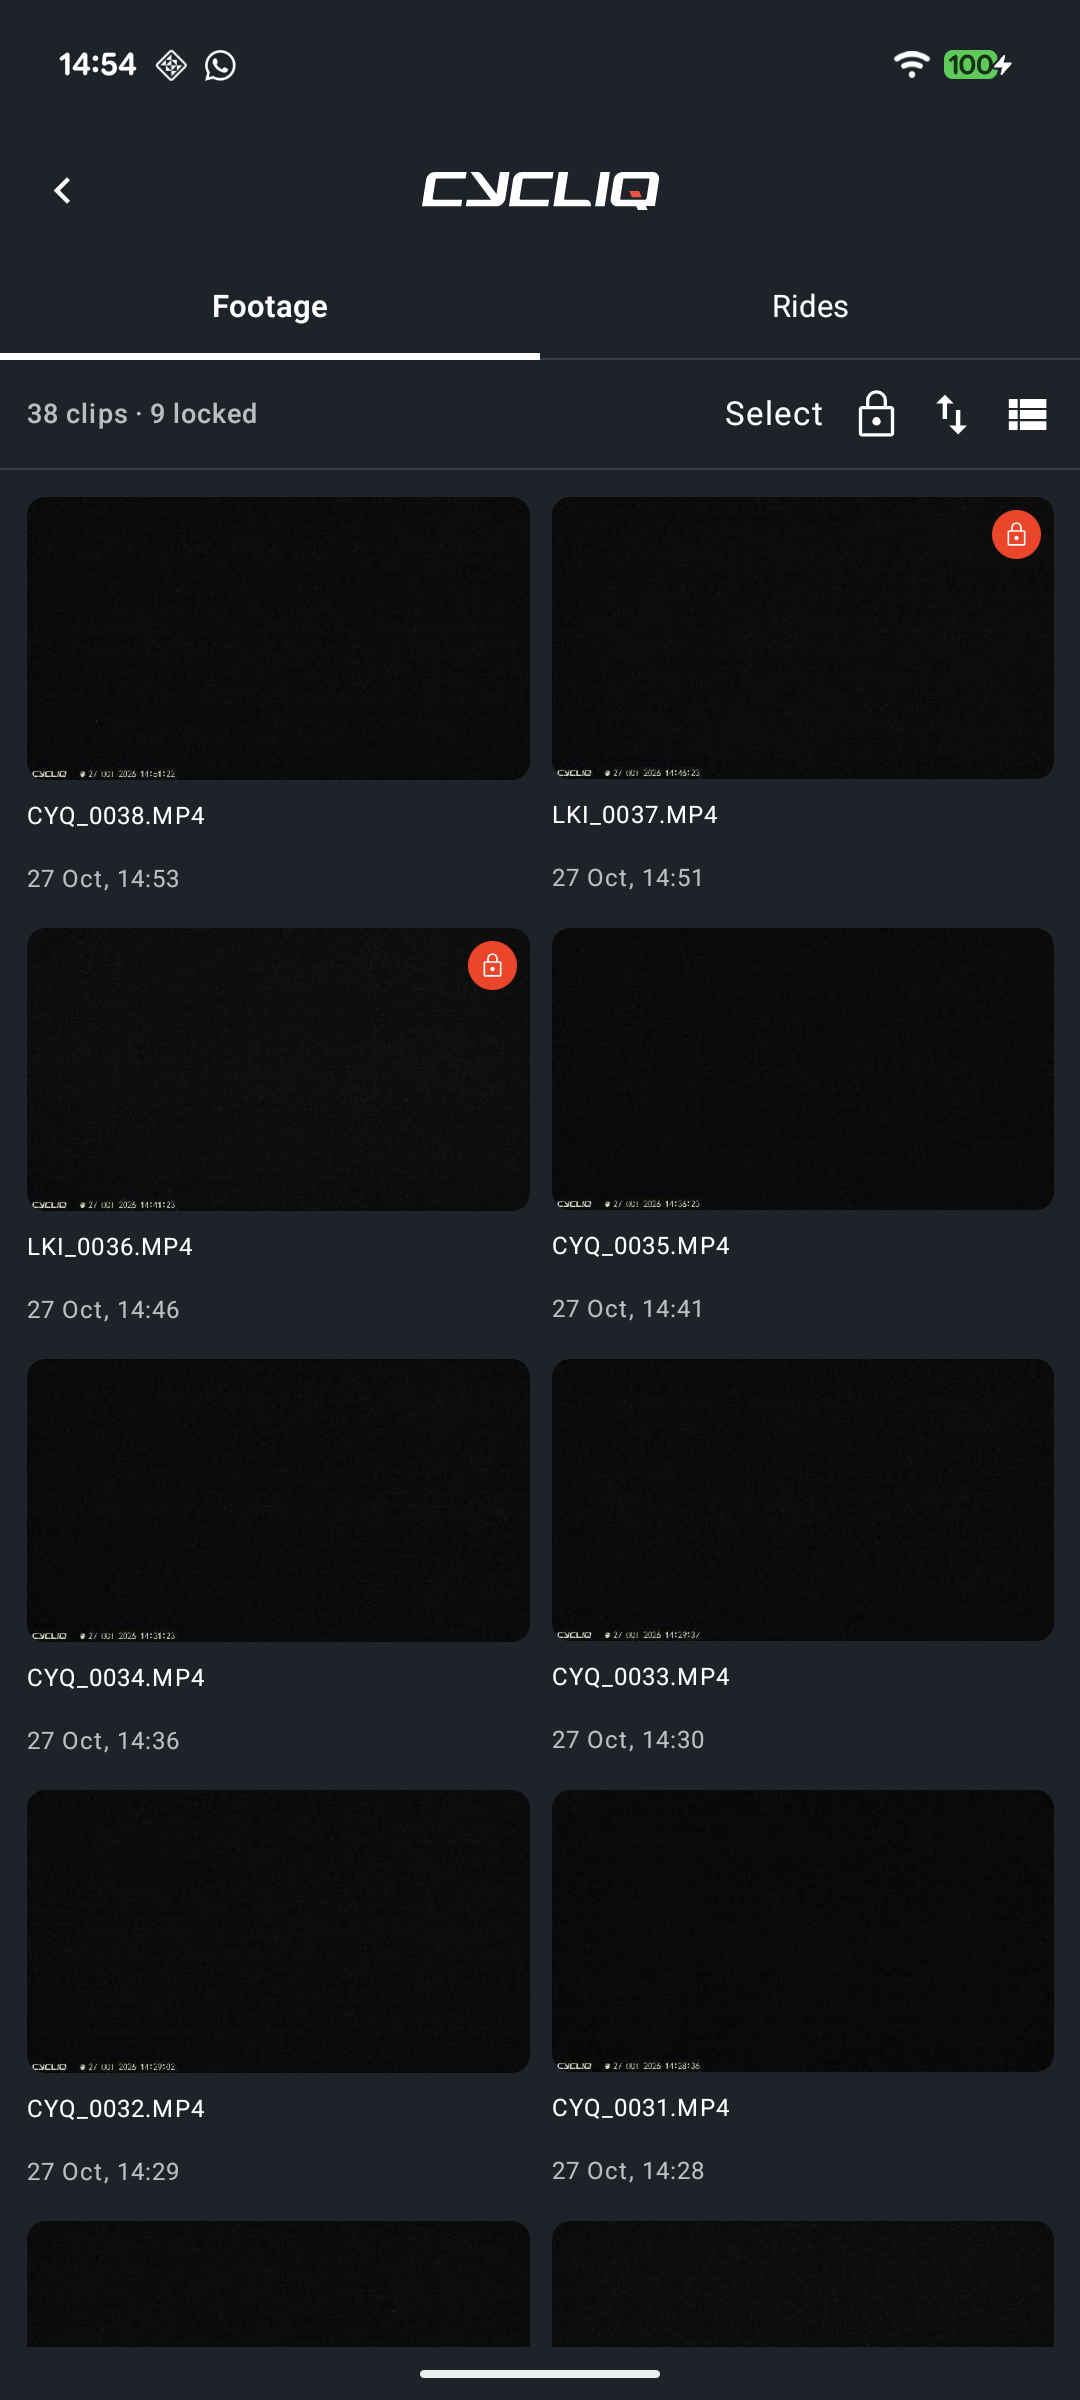
Find the clip you want to edit
You can edit clips from two places:
- Footage: clips recorded on your camera. Connect the camera over Bluetooth, tap Footage, and wait for the thumbnails to load. (Footage uses your camera's Wi-Fi. See Troubleshooting connection issues if it won't connect.)
- Saved Videos: clips already saved on your phone.
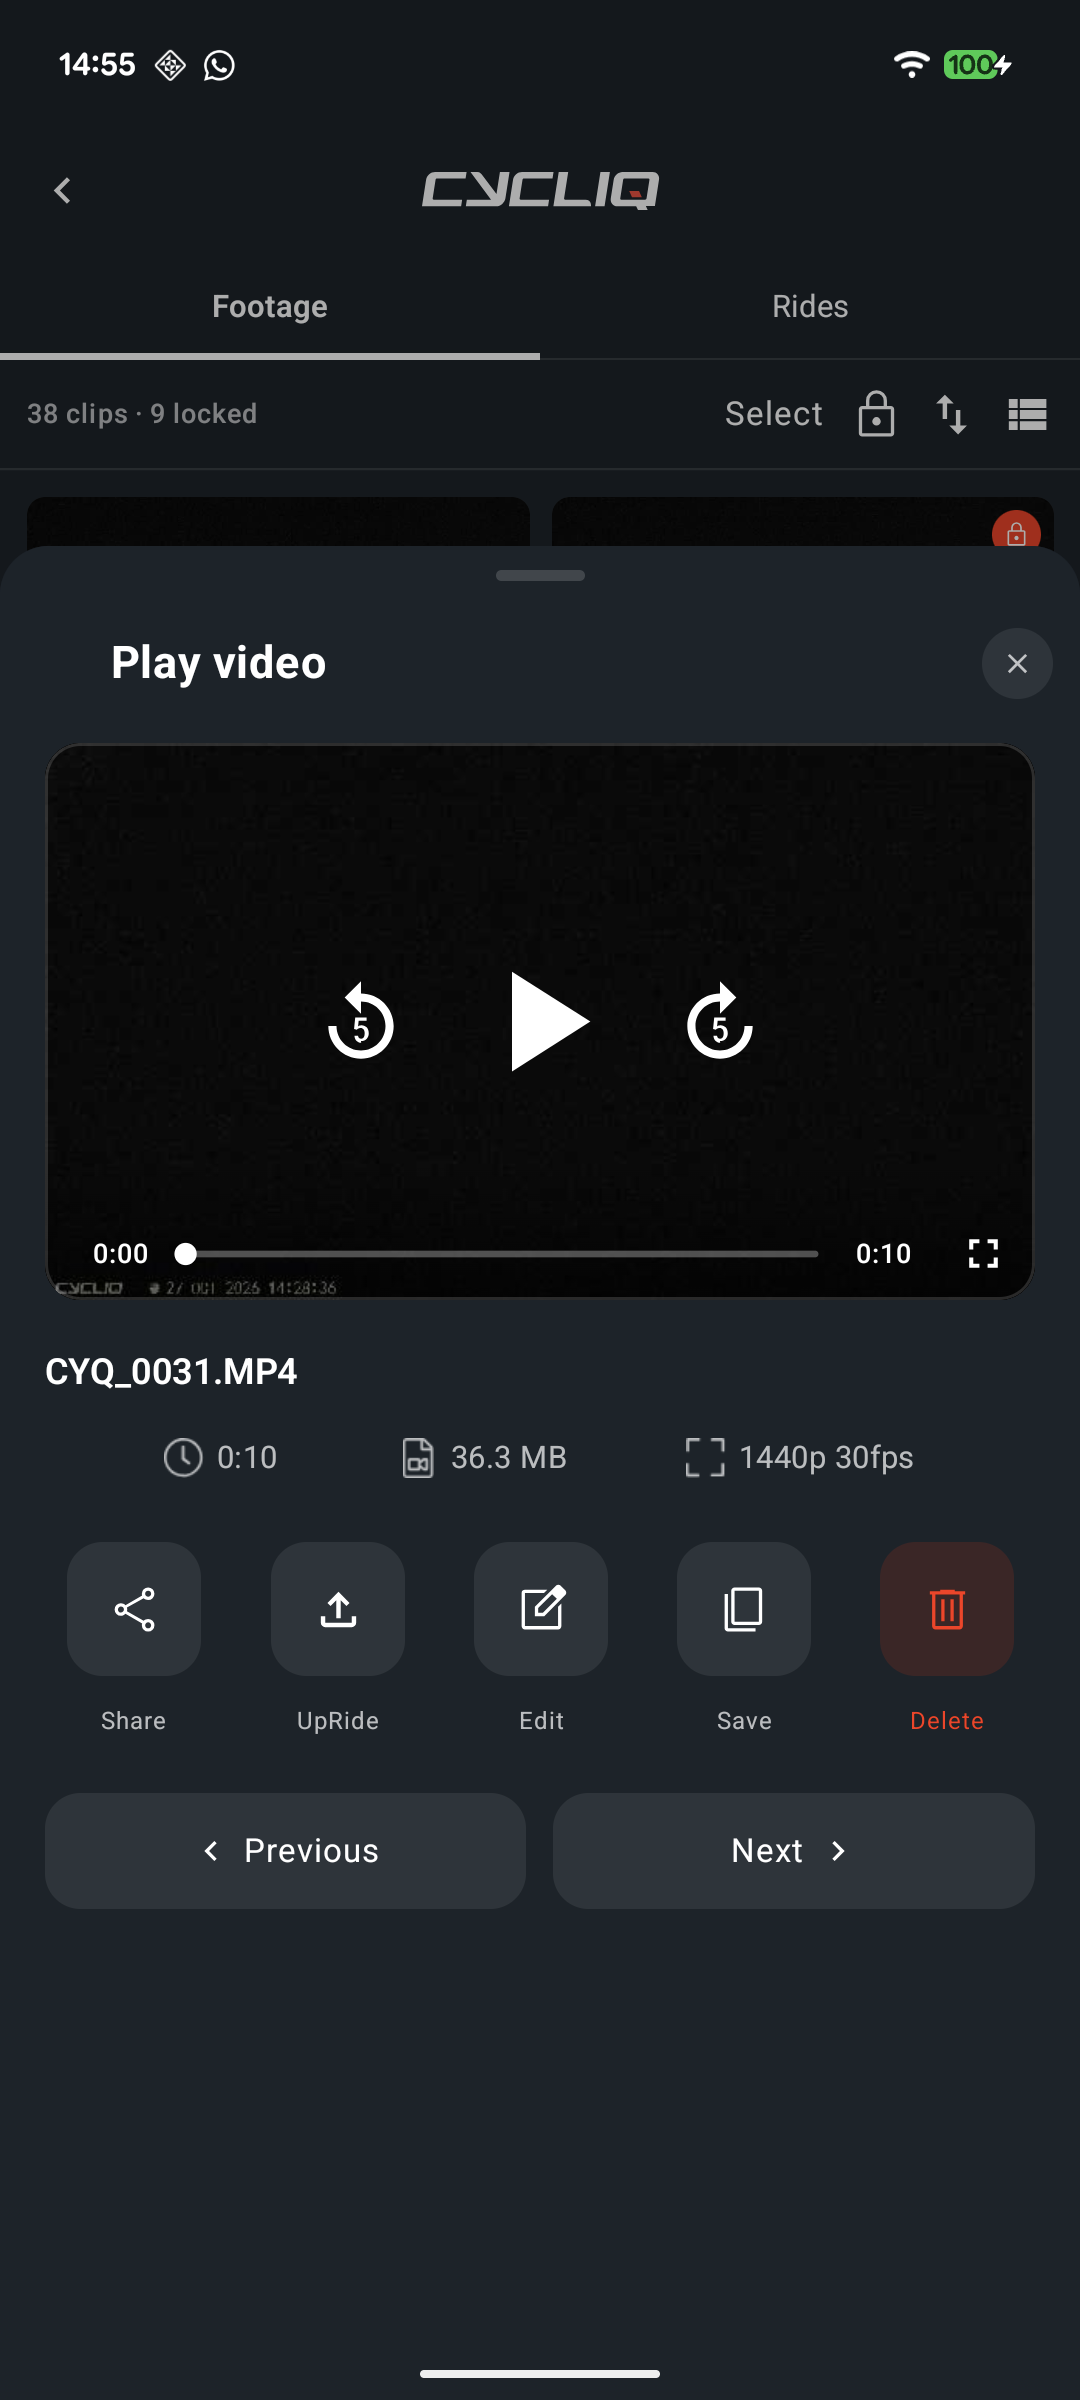
Tap the clip to play it. Scrub through until you reach the part you want, then tap Edit in the row of actions under the player.
Saved Videos clips have no Edit button. The actions there are Share, UpRide and Delete only. To edit a clip already saved on your phone, open the side menu and tap Edit Video, then pick the file.
Trim the clip
- Drag the Trim start and Trim end handles along the timeline to choose the part you want to keep.
- Play the clip to check your start and end points.
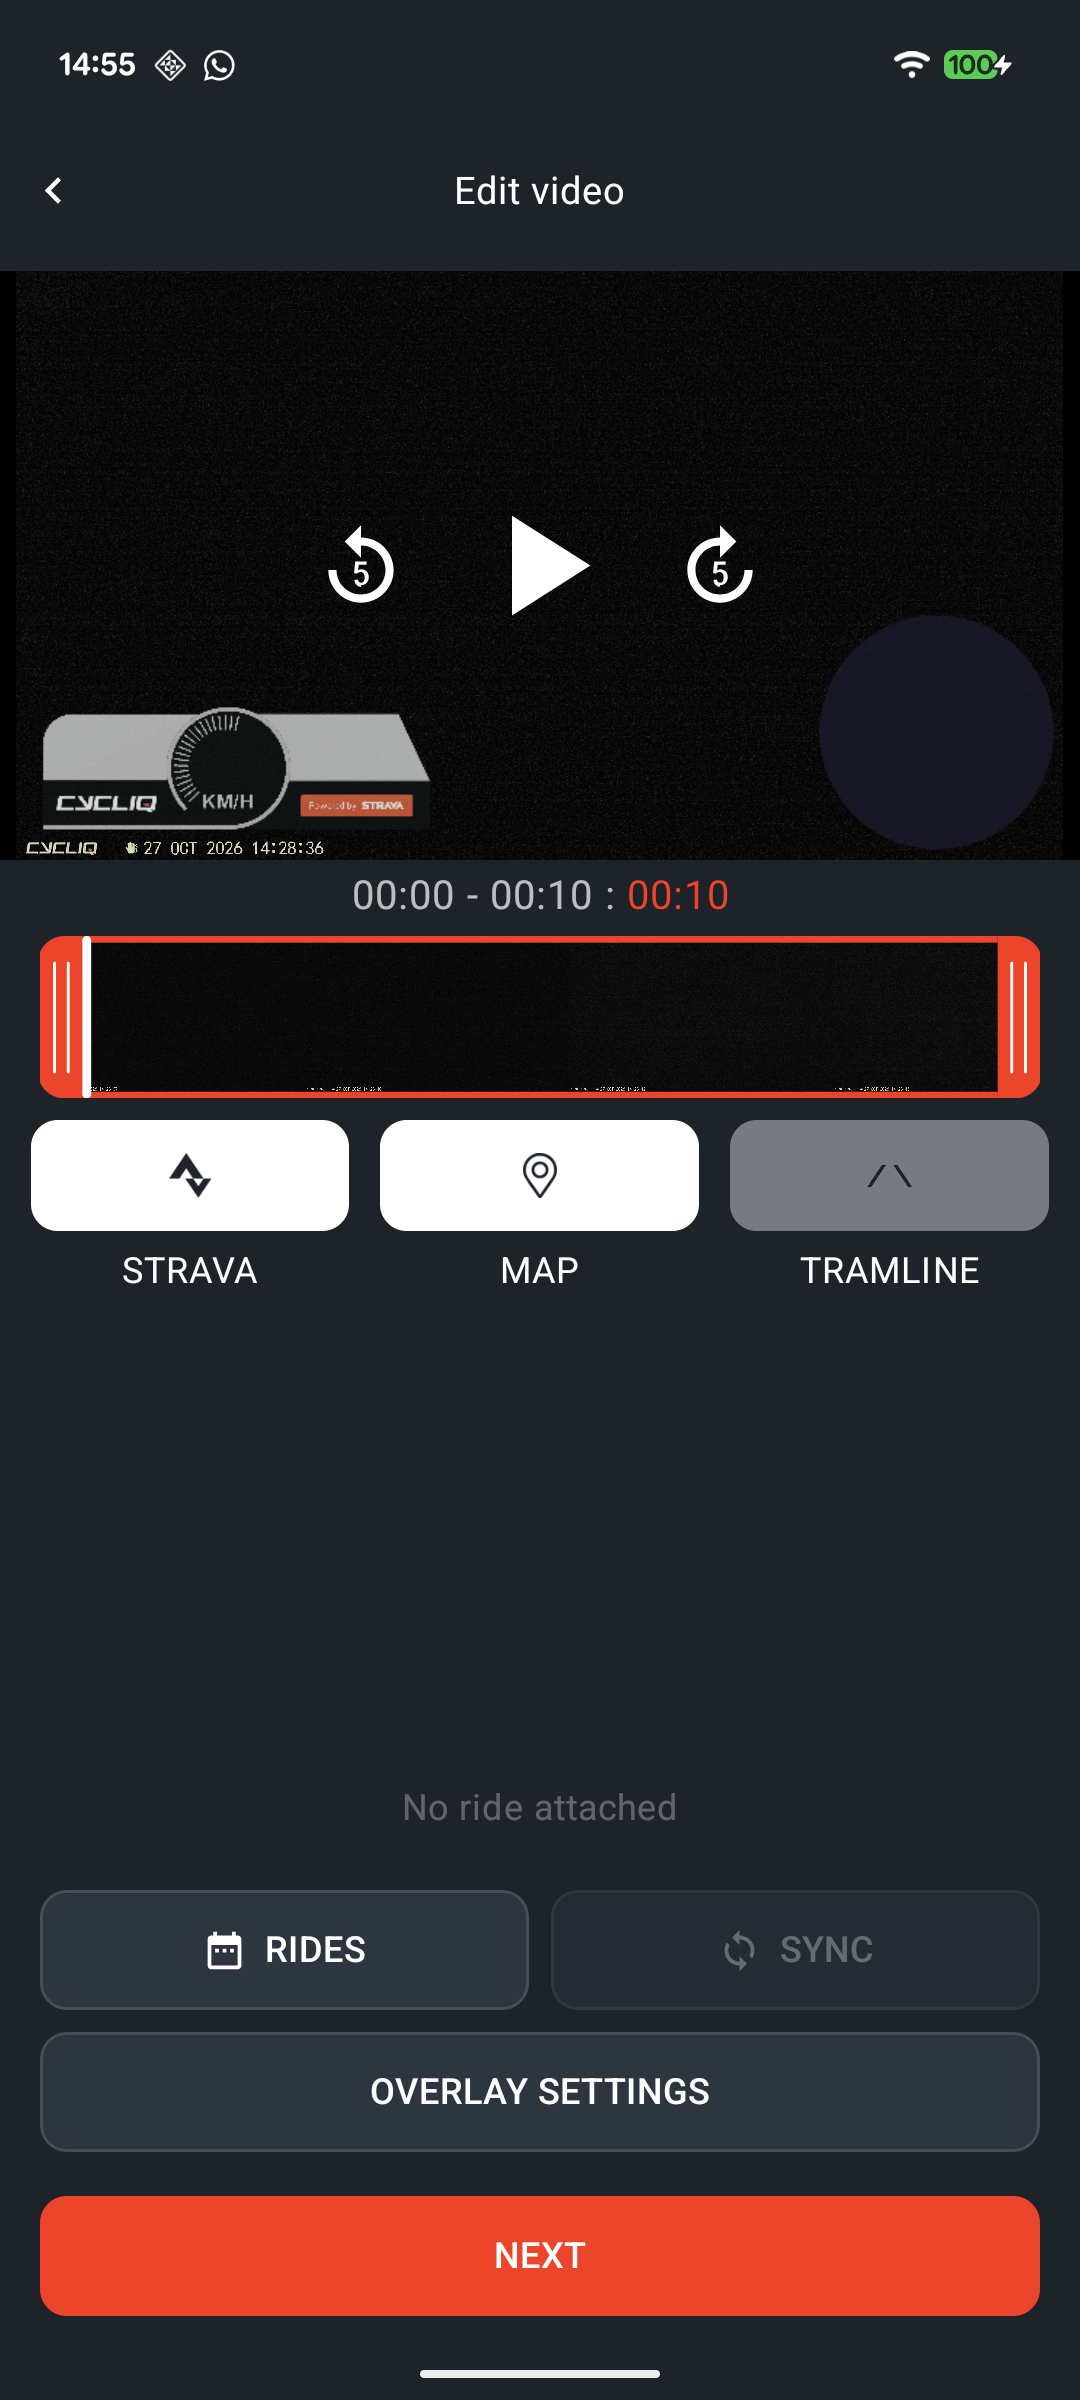
Add a Strava overlay
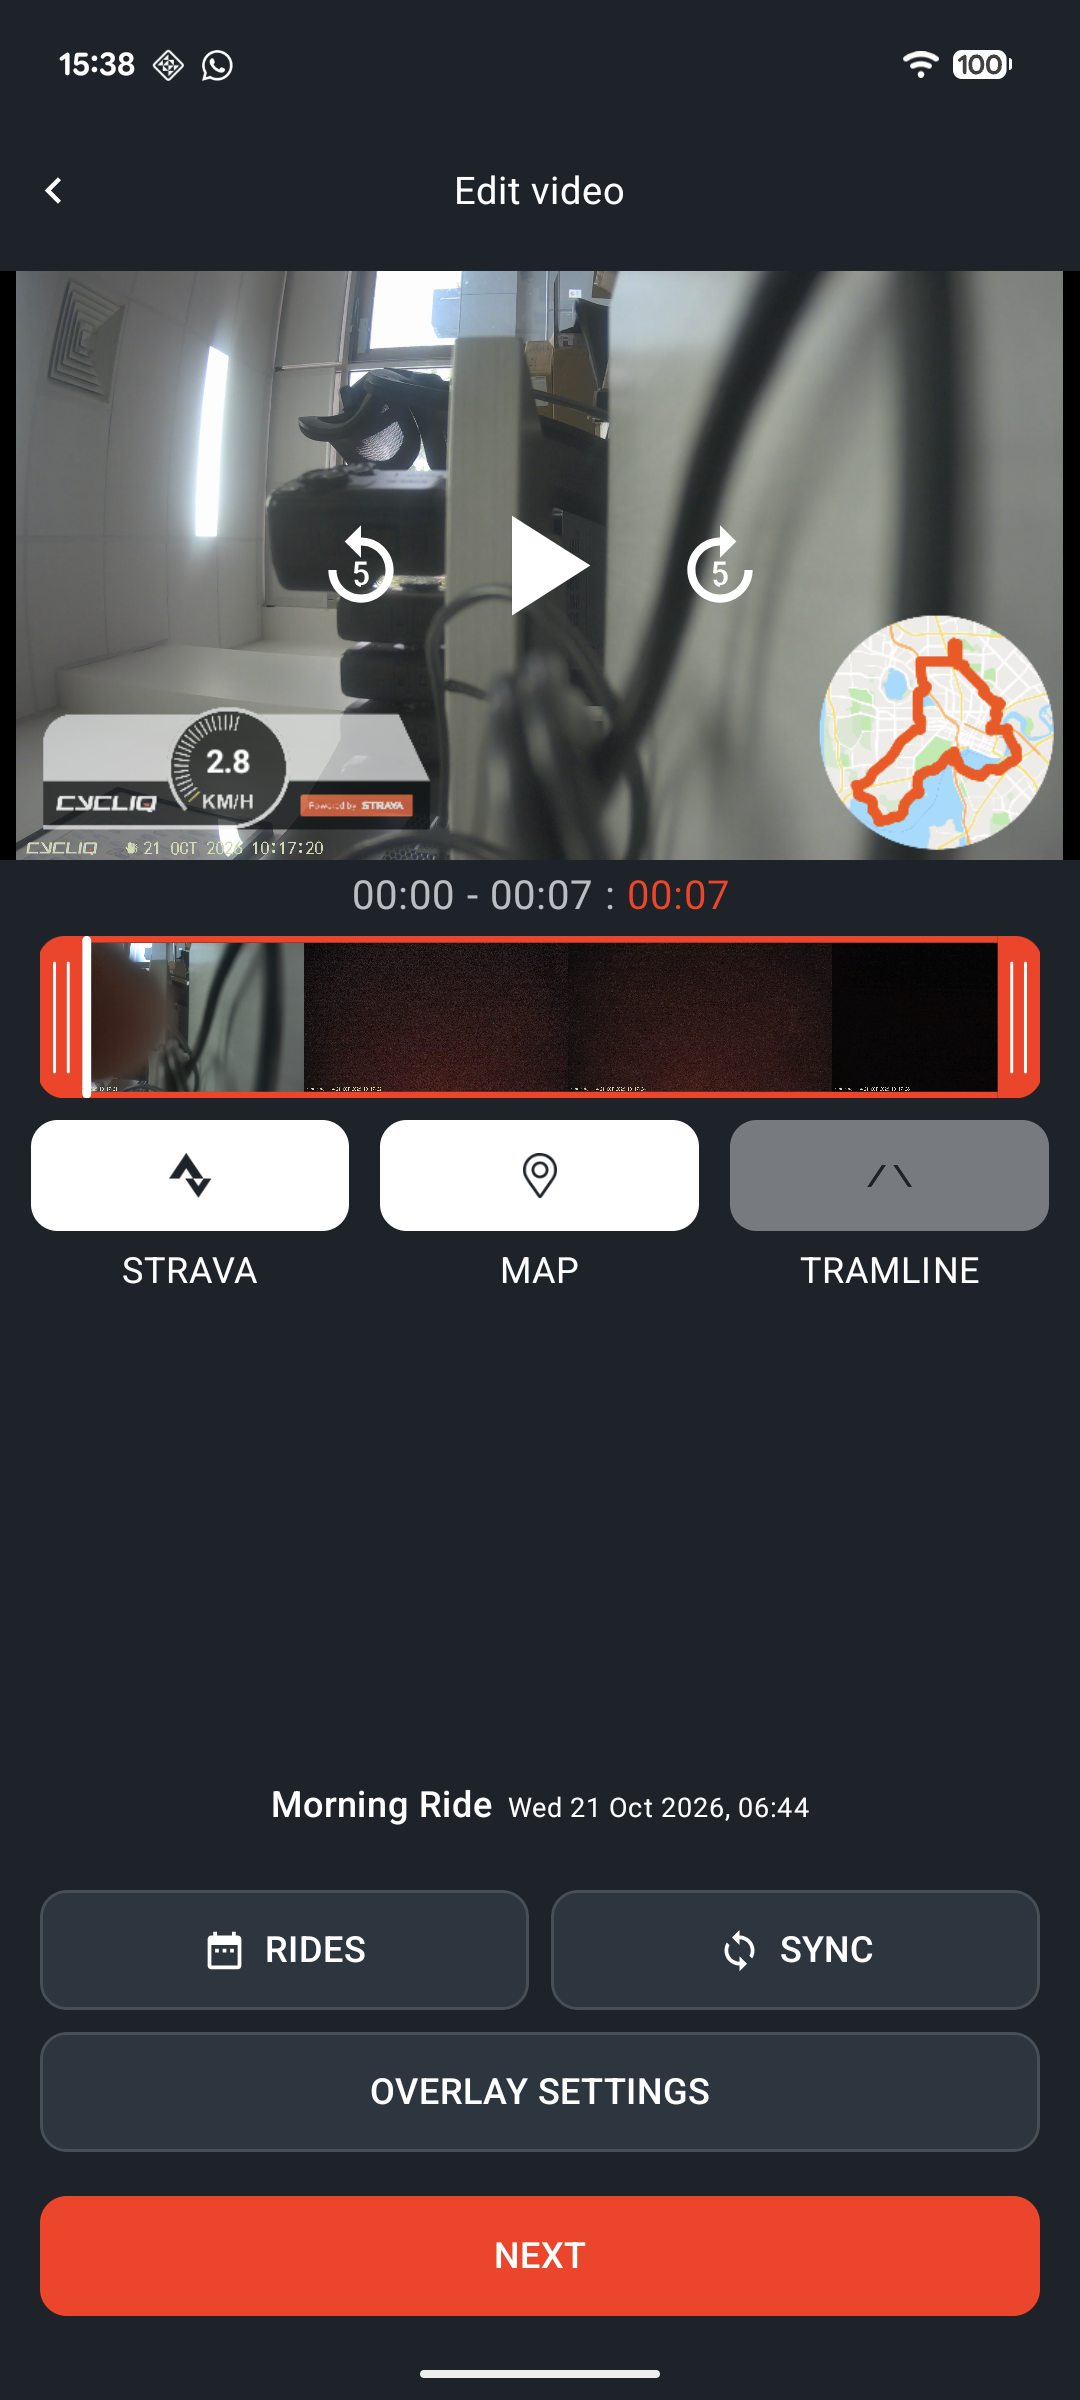
The overlay adds your speed, map and metrics on top of the video. It works with rides you have recorded and uploaded to Strava.
- Connect your Strava account from the side menu, under Link Strava. Tap Connect to Strava and sign in.
- In the editor, open Strava and tap Choose ride.
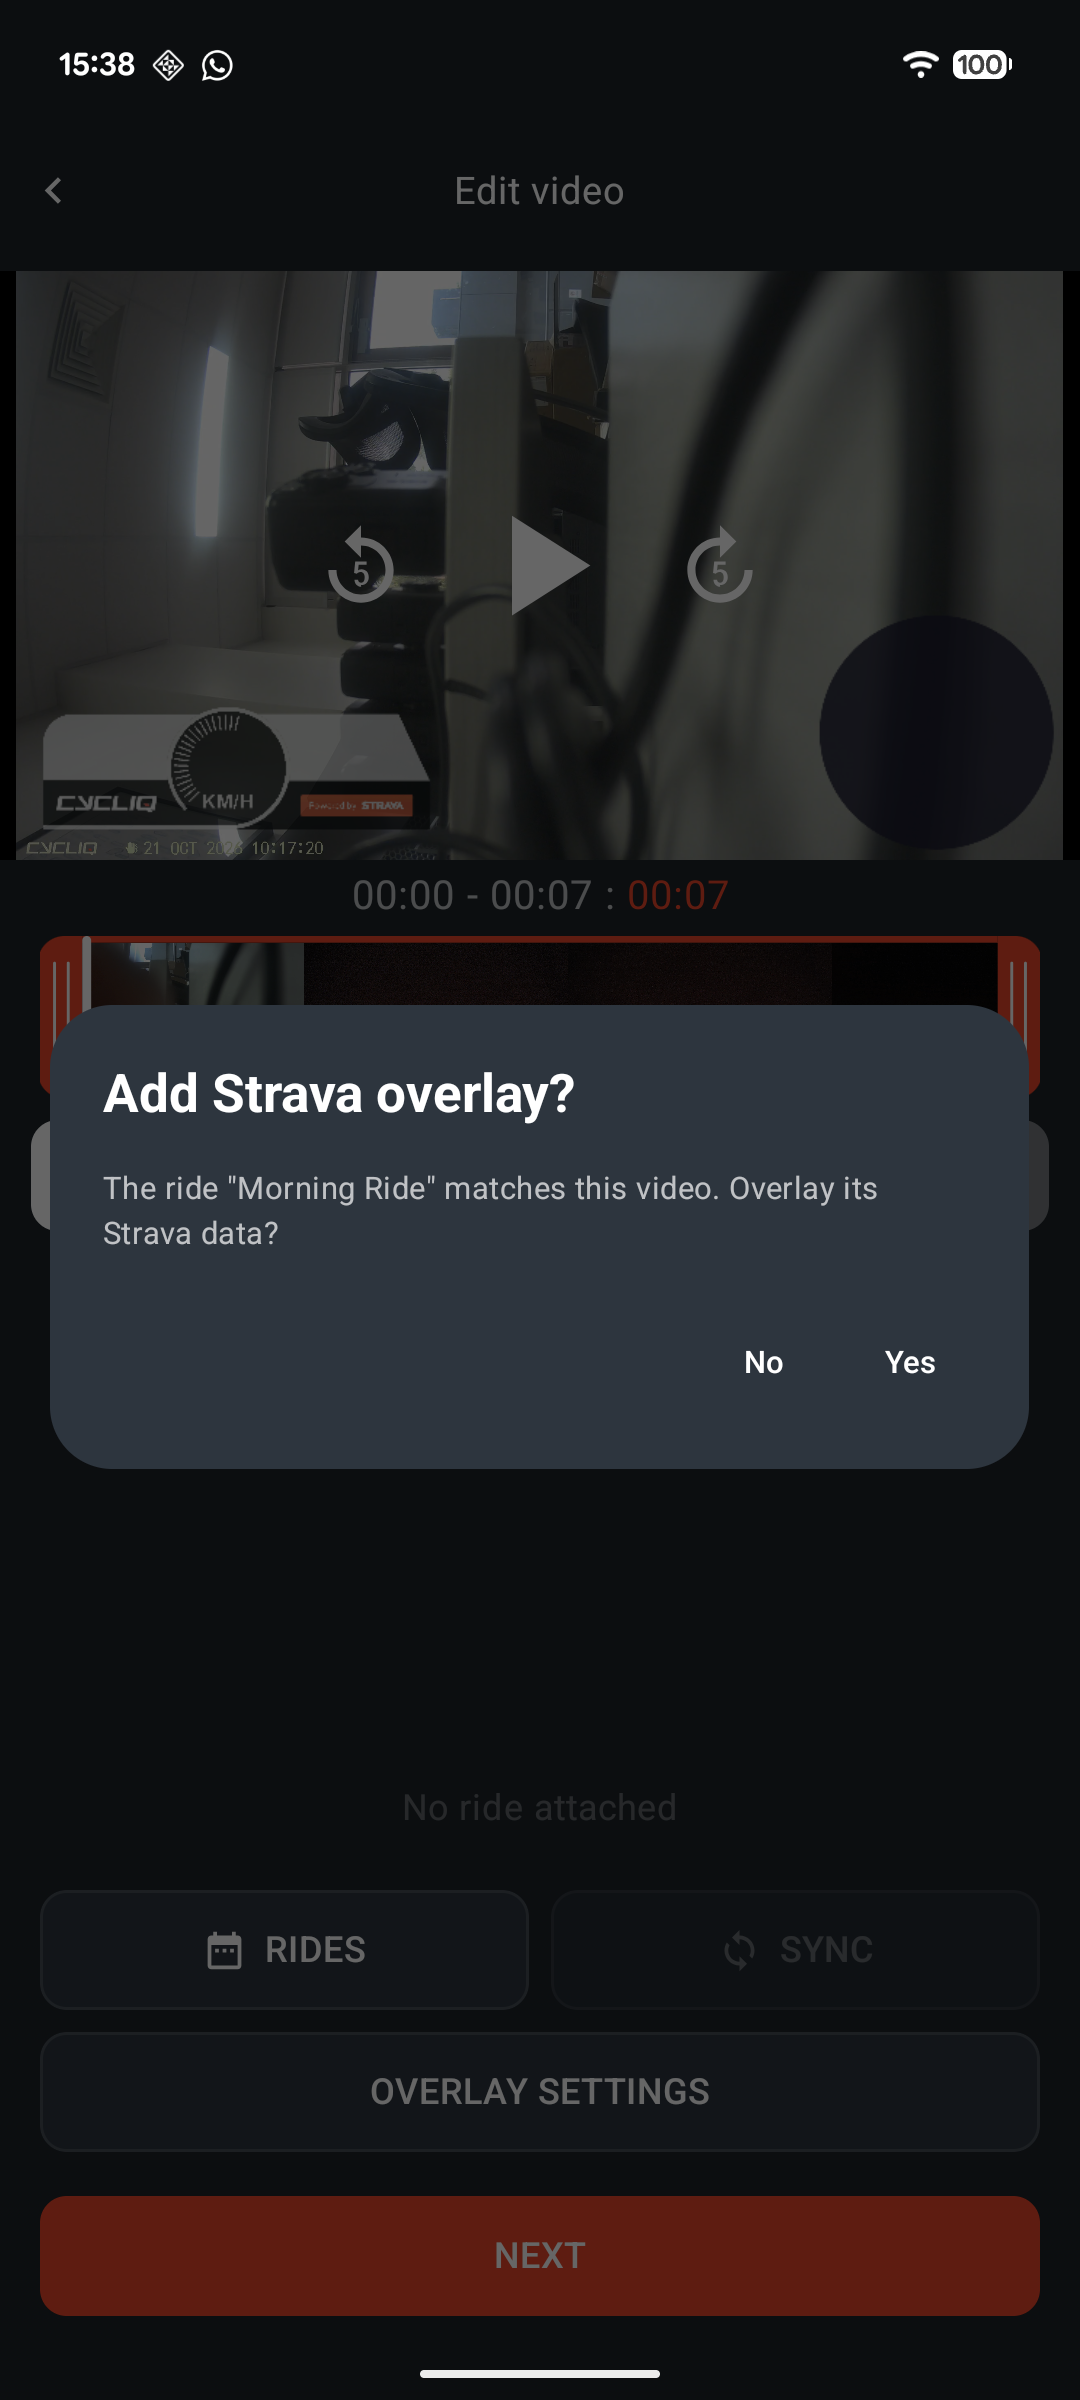
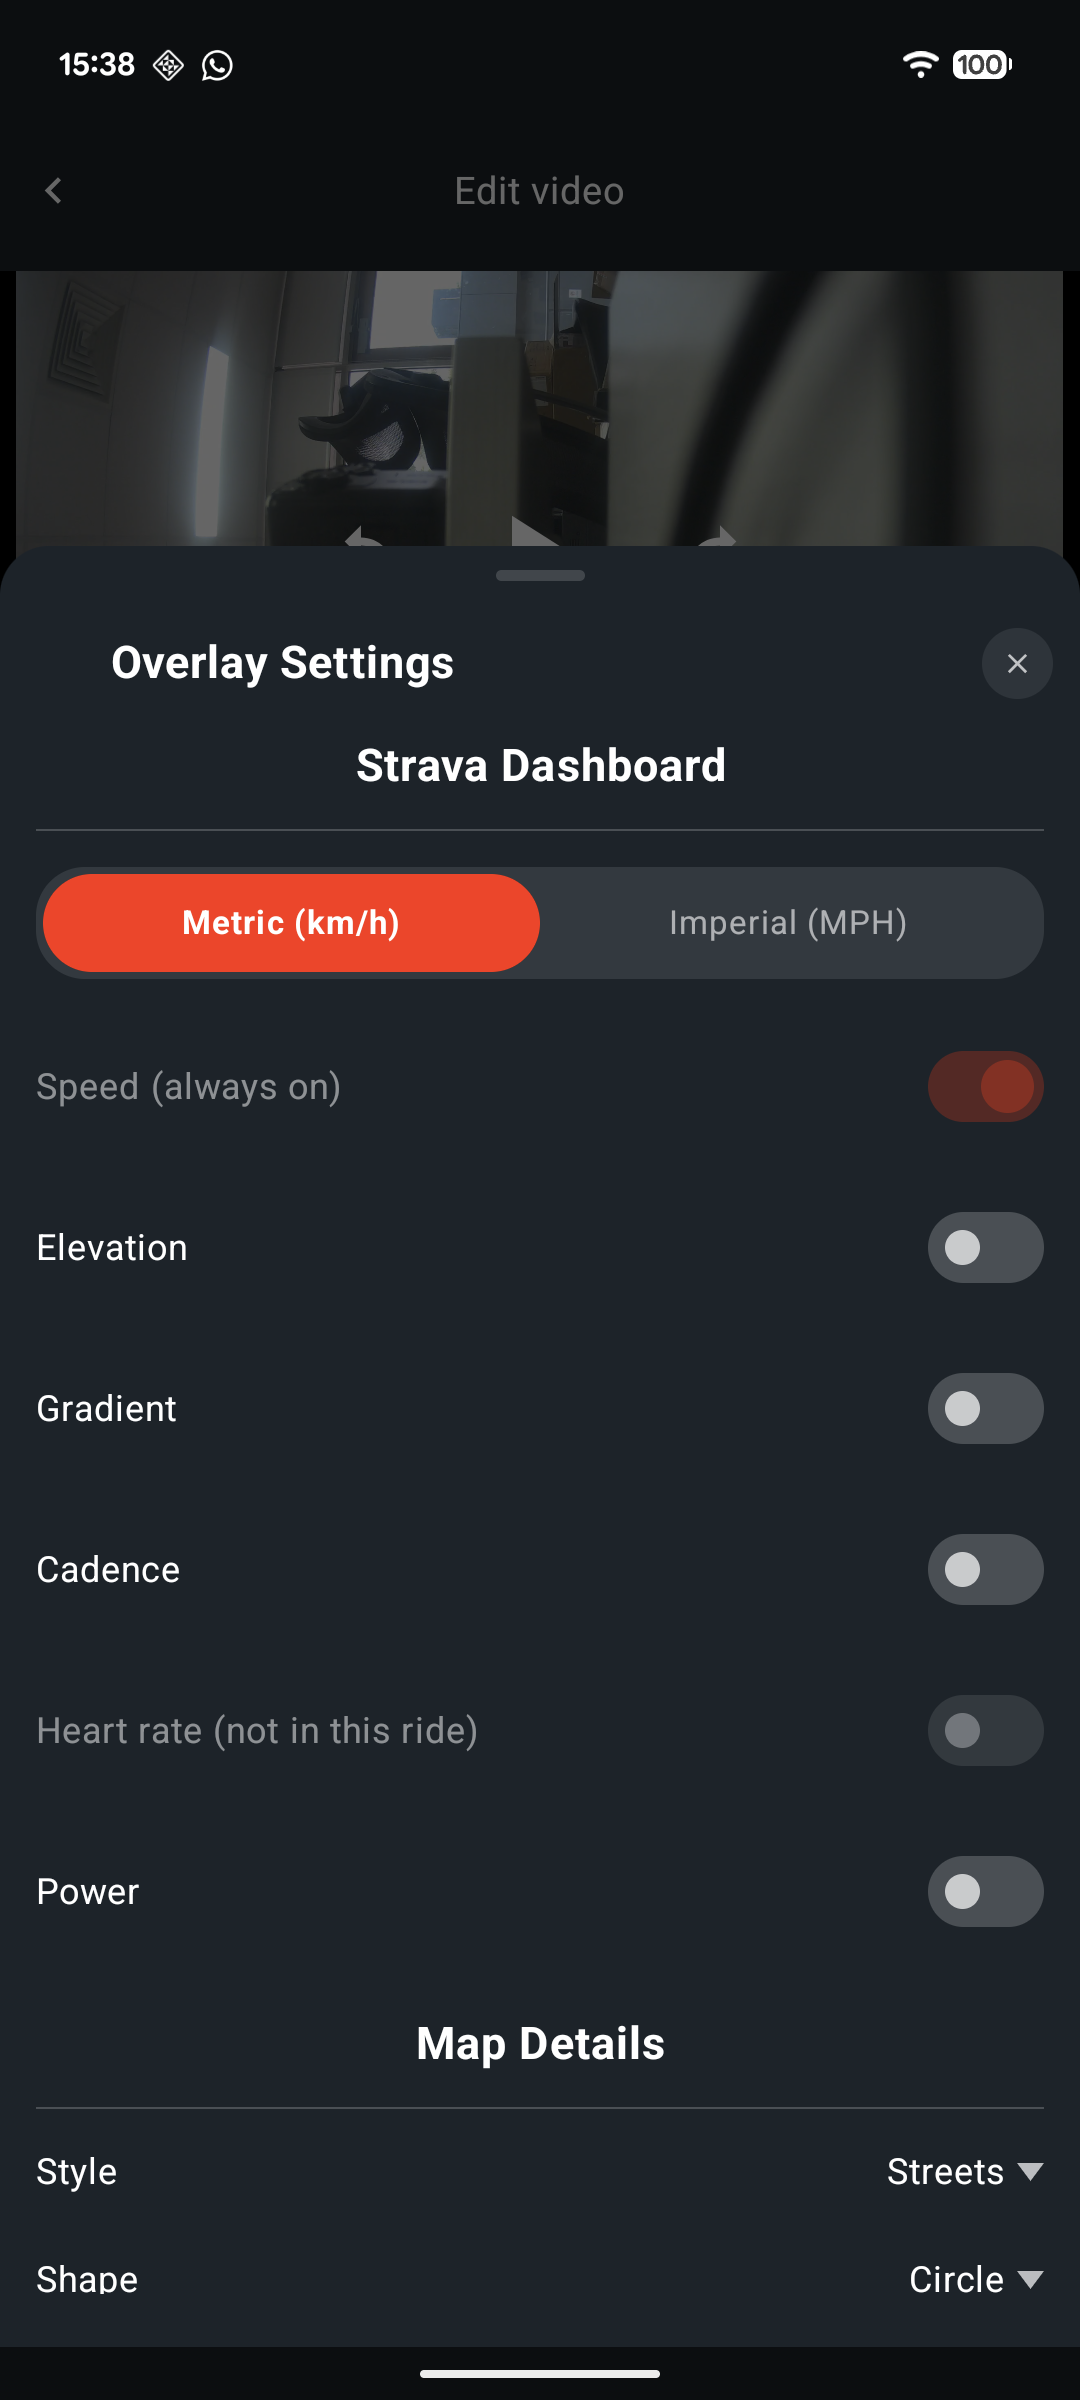
- CycliqPlus looks for a ride that matches the clip's time. If it finds one, you will be asked Add Strava overlay?. Choose Overlay Settings to adjust the look.
- Overlay settings include the metrics shown, the map style and shape, the opacity, and the units (metric or imperial).
Tips:
- Connect your phone to the camera just before your ride. This keeps the camera's clock in step with your GPS, so the overlay lines up with the footage.
- Your ride must be on Strava before it can be matched. If you see No footage matches this ride, check that the ride's time matches the clip.
Add a Virtual Tramline
Tramlines are virtual lines overlaid on your footage that show a 1 m (3 ft) safety distance either side of your bike. Tap the TRAMLINE button in the editor to turn them on.
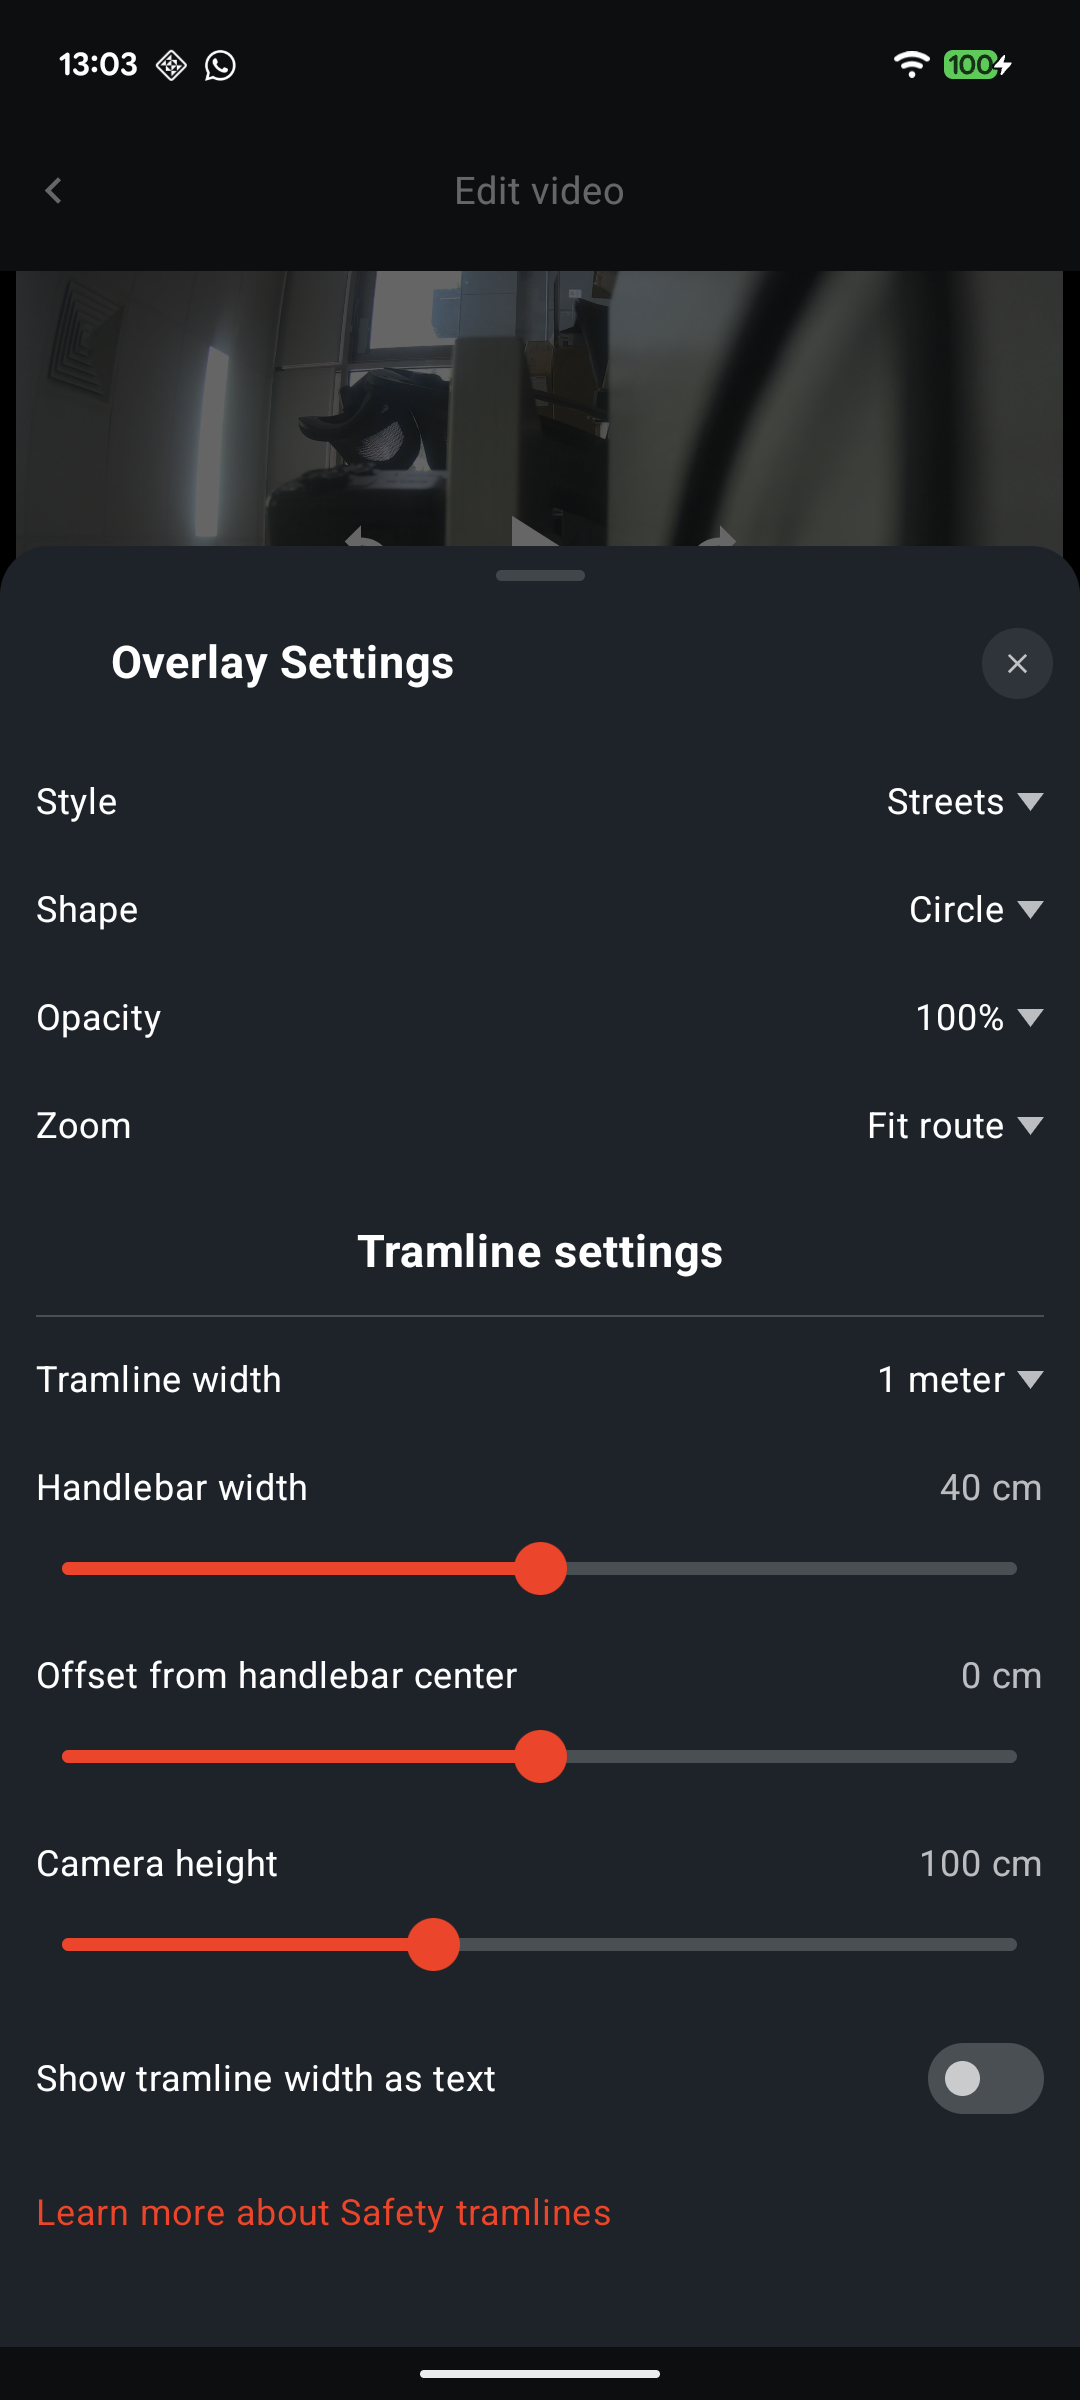
To change how they are drawn, tap OVERLAY SETTINGS and scroll down to Tramline settings. You can set:
- Tramline width — 1 meter or 1.5 m (3, 4 or 5 ft in imperial)
- Handlebar width
- Offset from handlebar center — if the camera is not centred on the handlebar
- Camera height — how high the camera sits off the ground
- Show tramline width as text — prints the width on the video
Measure the camera height and handlebar width on your own bike, or the lines will not line up with the road.
Save or export
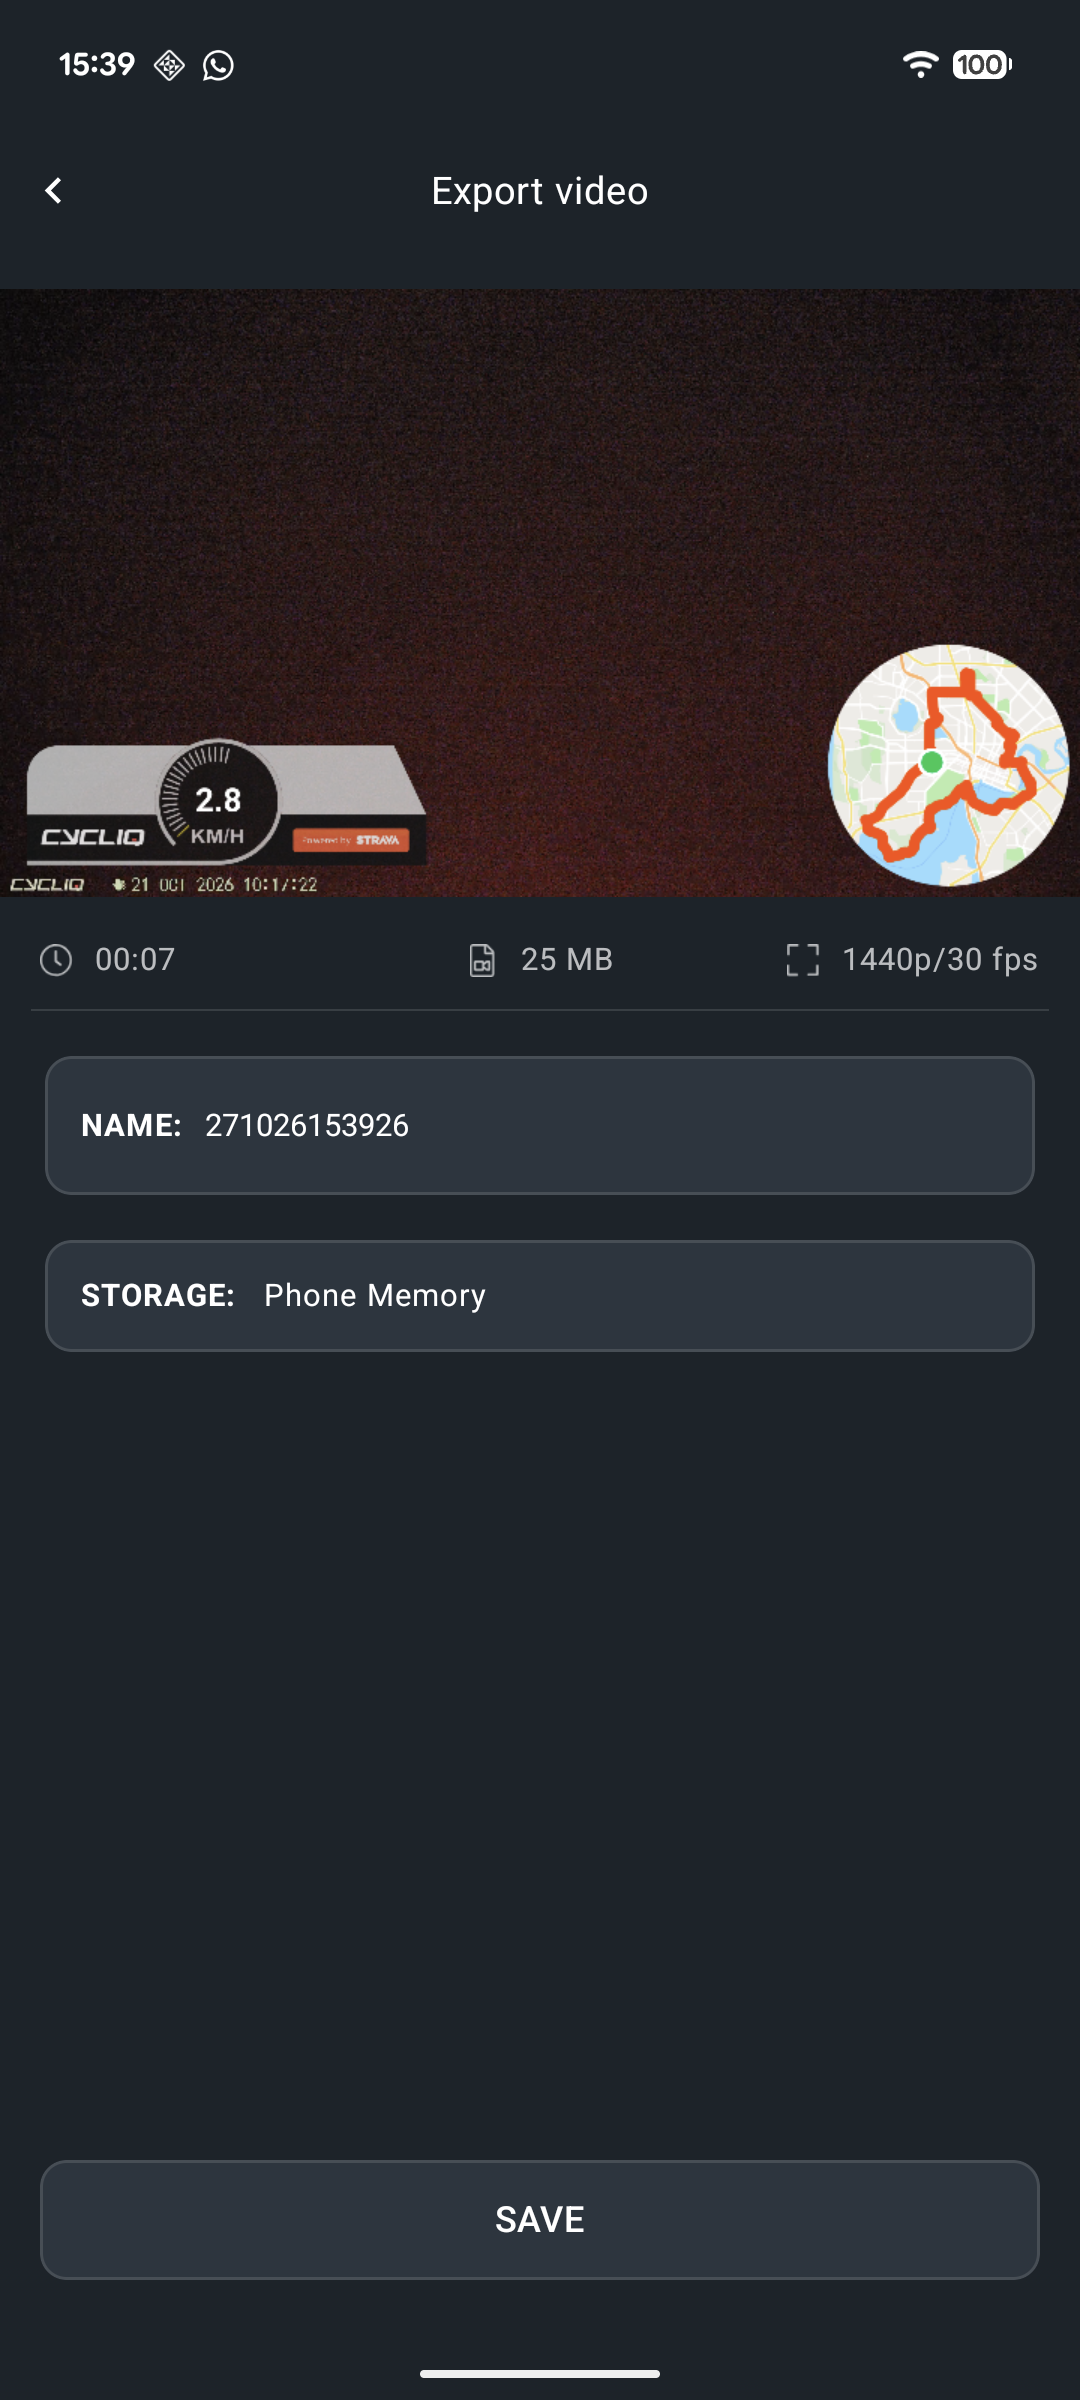
When you are happy with the edit, tap NEXT. On the Export video screen, check the name and storage (for example, Phone Memory), then tap SAVE.